
Minimizing Time to Ship 🚀
Going from idea to live as fast as possible

When I was in Y-Combinator, one thing that kept being repeated is that an idea is 1% of your success. Execution is the other 99. Your idea may be amazing, but if it never makes it past http://localhost:3000, it really isn’t much use to anybody.
Over the course of my development career I have shipped a wide variety of products. I’m sure I’m forgetting something on the list but just to give you an idea:
mobile apps in react native
mobile apps in android
backend systems written in java
mono repos written in typescript and node
simple landing page
pure front end projects written in angular
api driven serverless projects
helping my buddy @traf with his javascript project
Sometimes I did it in hours, other times it took me months. While this can vary depending on the complexity of the project, there are certain steps you can take to reduce the time to market depending on your project.
While most tutorials on the web, will talk to you about how to write your basic hello world, you have to then scour a bunch of medium posts to then figure out how to get your project out into the world.
What I want to share with you here is my framework for choosing my tech AND deployment stack depending on the type of project you are building. I’ll break it down by project type and give my suggestion for the easiest way to get it deployed.
Full Disclaimer: This is by no means exhaustive. This will not talk about more complex deployments needed to handle highly scalable and reliable systems.
Static Website/Portfolio
Looking to build a static website or want to show off your existing work with a portfolio?
There is no better solution than using Notion and Super. Your website will be responsive, beautiful and more importantly live in minutes.
Notion, is an all in one workspace. You can use it for notes, docs, wikis, todo lists… it’s honestly freaky how useful it is. After setting up your Notion website, you plug it into Super. They have an awesome market (ha, get it supermarket!) with different themes and templates, icons, analytics and everything you need for a fully functional website.
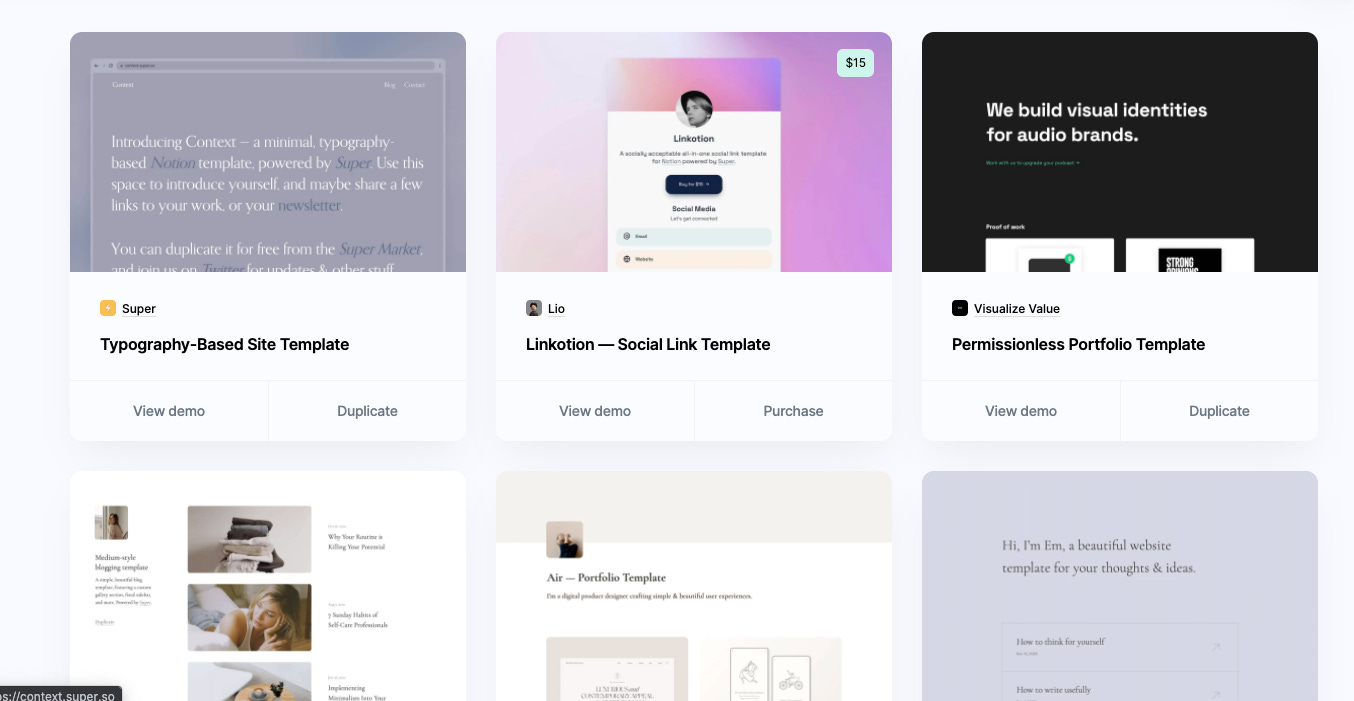
As for the pricing? Extremely affordable at $12/month. Little pro tip, if you DM them on twitter @super_ they’ll even give you the $8/month plan.
A website with a frontend and backend
Maybe you have a project that has some business logic. You want users to sign up, connect an external account, crunch some data… then Notion and Super might be a little too limiting for you.
If you’re proficient with javascript/typescript I highly recommend spinning up a next.js app and deploying with vercel. For one of my projects, I was up and running, in no joke, 15 minutes.
Next.js is a production ready javascript framework. Out of the box it provides:
server side rendering
image optimization
api routing (both rest and graphql)
fast refresh
typescript support
Also, forget about about wasting your time fiddling with webpack, babel or gulp. You will waste so much time, trying to figure out why your client side bundle is too large, or why you’re getting random css errors due to missing a preprocessor. Next.js bundles your application intelligently and minimizes the bundle size. One really convenient thing it does is, bundle the API endpoint server side and does not ship it with the client side bundle.
In order to get your website live, just deploy it with Vercel. There’s a few reasons why I love Vercel.
It makes DNS management a breeze
Provides ephemeral live testing environments based on your branches
Makes CI/CD absurdly easy
The free plan provides: https custom domains, continuous deployment, edge caching, unlimited websites…
A project with a backend and a database
Once we start moving into more complex territory, maybe now you have a backend that runs cronjobs, has a worker that listens to events and store data into a database… well now we are moving to a slightly more complex territory but you can still get everything up and running relatively quickly.
First and foremost, make sure that what you want to deploy is Dockerized. Having a Docker image that you can pull and deploy wherever will save you a ton of time. If you are not familiar with Docker, I highly recommend you take some time to read about it, as it’s the backbone in modern software development.
Once you have your docker image, the rest will be relatively smooth.
For my projects, I always use AWS, so the examples will be specific to this cloud provider.
For database storage, AWS has a free tier that I have yet to have a need to upgrade, so my entire DB comes for free.
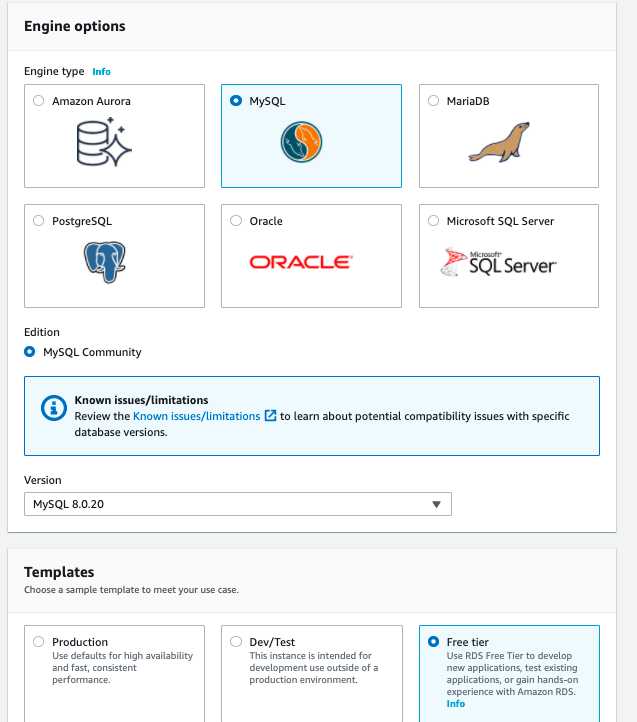
For authentication, select a username and password, and then make sure any traffic can access this in the inbound/outbound security rules.
N.B. In a larger setting, you will want to setup your VPCs properly and limit access to your database. This advice is purely for a personal project.
Now, for your docker image. What I use to deploy my projects is a combination of:
ECR (or dockerhub) for my container registry
Fargate: helps manage your compute instance
ECS: container orchestration service
If these terms are not familiar or seem scary, I guarantee that once you start playing around with them, you will see it’s extremely straightforward. Here is a great youtube video I used to get up and running in about 20 minutes.
Serverless Deployments
Lambdas, serverless functions, cloud deployments… it’s all the rage. If you are doing API development and want to keep your costs down, I can’t think of a better way than leveraging serverless functions. In fact, I’m fairly certain that’s what Vercel uses in the backend to be able to offer such cheap pricing.
For all of my serverless work (including things like step functions, lambdas, managing my entire cloud formation) I always use the serverless library. It has a wide variety of plugins for local development and for mimicking the serverless ecosystem.
First, you’ll need a few things:
An AWS account
Node v8.x (at a minimum) installed on your machine
AWS CLI (Command Line Interface) installed on your machine
SLS CLI installed on your machine
After you get familiar with sls and you can run everything locally, it’s time to deploy.
First, let’s setup your local AWS profile.
aws configure — profile YOUR_PROFILE_NAME
AWS Access Key ID [None]: <ENTER YOUR ACCESS KEY>
AWS Secret Access Key [None]: <ENTER YOUR SECRET KEY>
Default region name [None]: <ENTER "us-east-1">
Default output format [None]: <ENTER "json">
and now to deploy… you literally just type sls deploy. This will automagically create your cloud formation and manage your entire stack of lambdas, step functions, events…
There you have it, the playbook I use to deploy almost any type of project. From simple static sites, to full stack cloud formations.
If you enjoyed this article, there’s plenty more of where that came from 😀
Sign up right below 👇